

Craft CMS
For those unfamiliar with Craft CMS, you can learn more about it here.
Scenarios
Let’s consider first scenario:
A client orders a website and agrees to the design and structure. You code it, and then, suddenly, the client changes his mind — he don’t like the colors. Is that frustrating? 🤬 For me, absolutely, it is!
Take a look on second scenario:
I have a client who gets bored quite often. He has an artistic soul and likes change the design every 6 months. Do we need to rewrite all the styles? Absolutely not! We can even give him the option to change colors, fonts and structure of website himself!
I found simple trick to change colors, fonts and page structure very quickly.
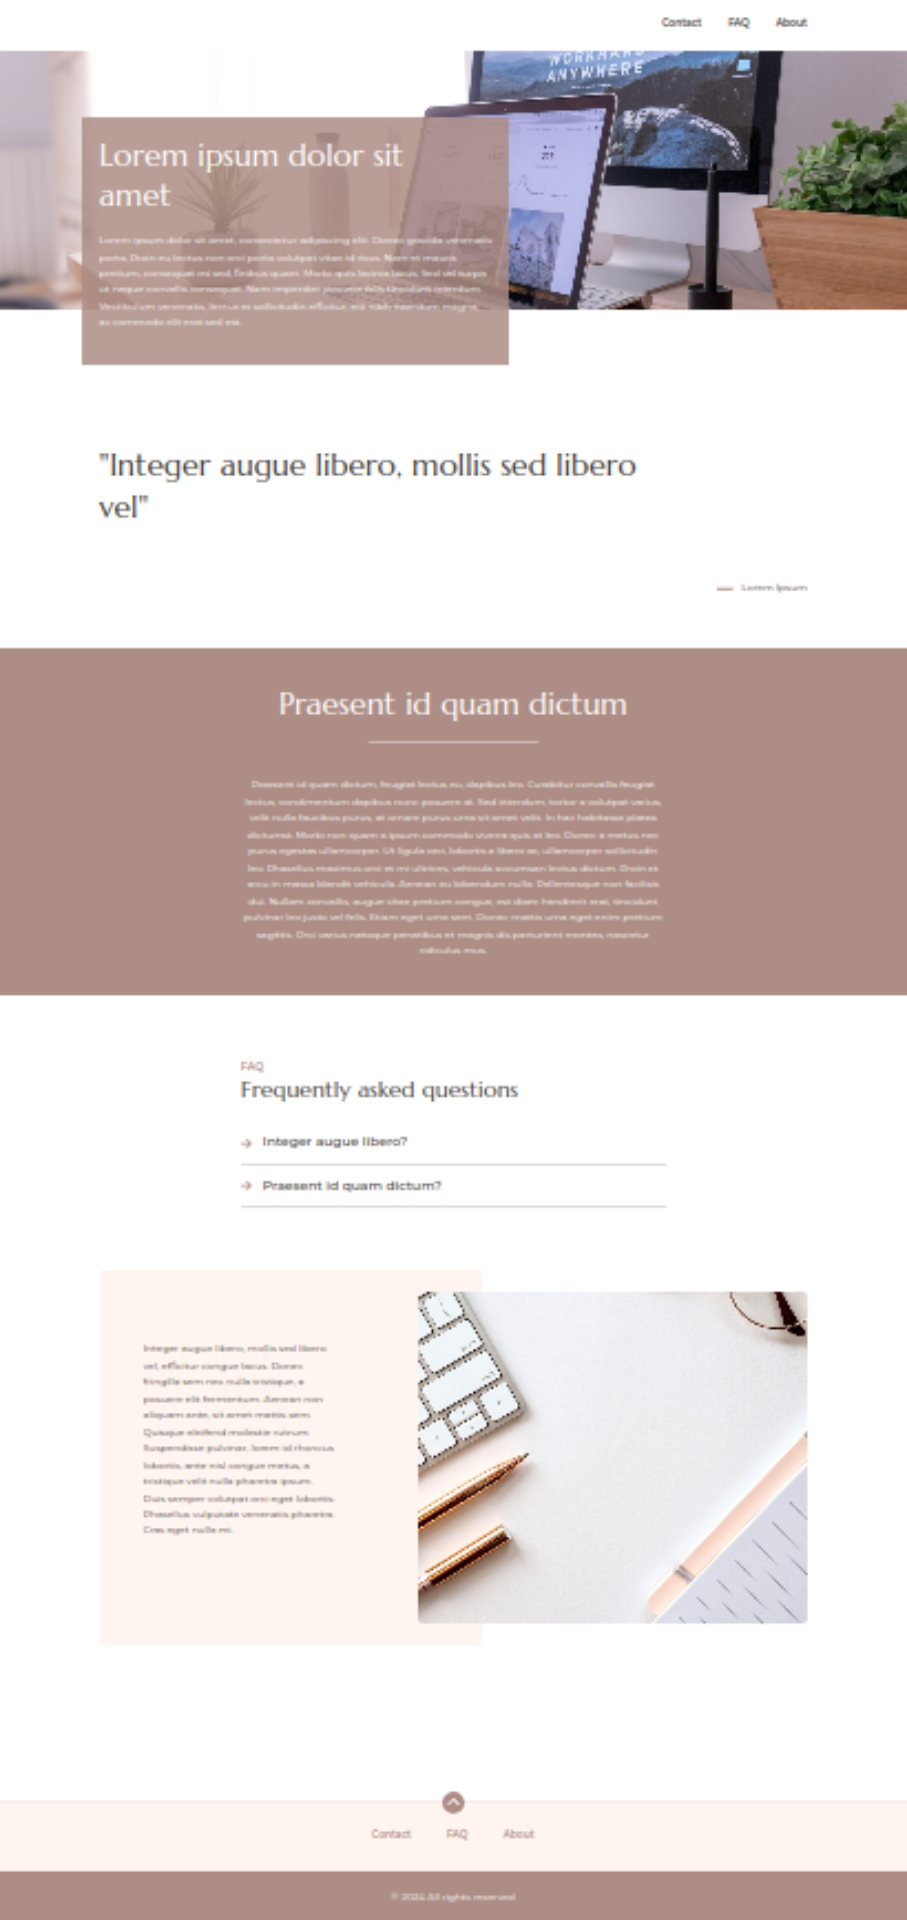
Example design
Let’s take a simple website that I created for this post’s purposes, which looks like this:
What should you avoid and how to write better CSS?
Look at following snippet:
.card{
  background: #ad8d85;
}

body{
  font-family: 'Montserrat', sans-serif;
}
Don’t get me wrong, but writing CSS in this way is not the best solution. I know that a lot of people do it this way, including me in the past. 😊
The better way is following:
.card{
  background: var(--theme-primary-color);
}

body{
  font-family: var(--primary-font-family)
}
Why? It gives us a lot of flexibility!
We can define our variables some place in CMS and change them dynamically. I’m assuming that you are familiar with Craft, so I will not explain in details.
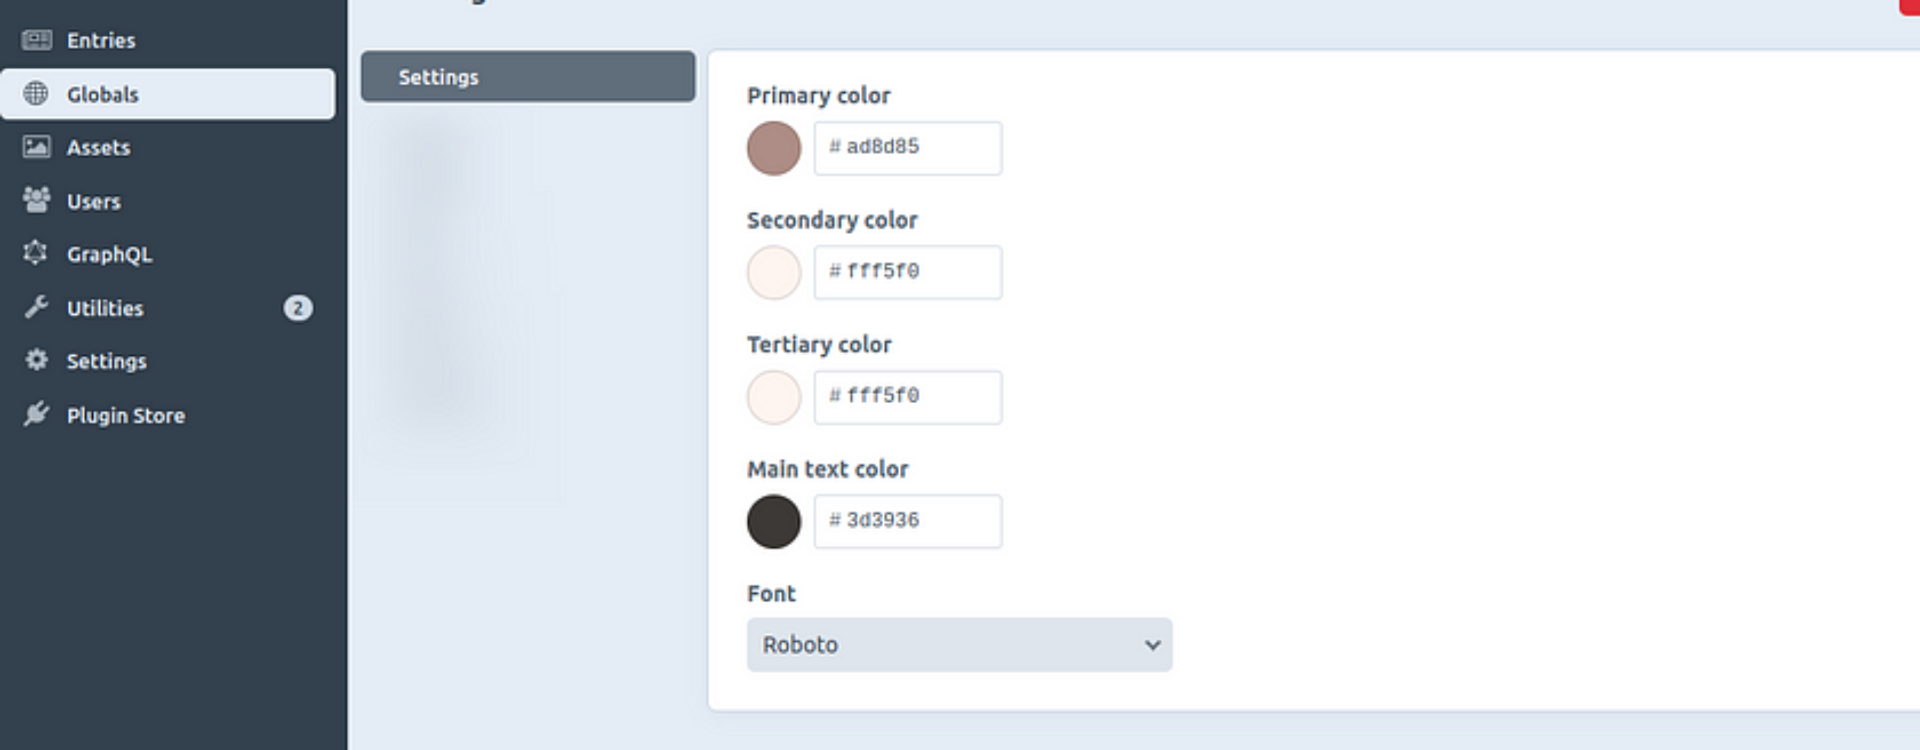
Usually I’m creating a few color fields and custom font field*. Then I like to put them in global settings, like this:
Next define our variables in HTML head, something like:
TWIG template
<head>
  {# ...other tags #}

  {% include "parts/_css-variables" %}
  {% include "parts/_fonts" %}

  {# ...other tags #}
</head>
<style type="text/css">
:root{
--theme-primary-color: {{ settings.primaryColor }};
--theme-secondary-color: {{ settings.secondaryColor }};
--theme-tertiary-color: {{ settings.tertiaryColor }};
--theme-text-primary: {{ settings.textPrimary }};
--theme-font-family-primary: {{ settings.fontFamily }};
}
</style><link rel="preconnect" href="https://fonts.googleapis.com">
<link rel="preconnect" href="https://fonts.gstatic.com" crossorigin>
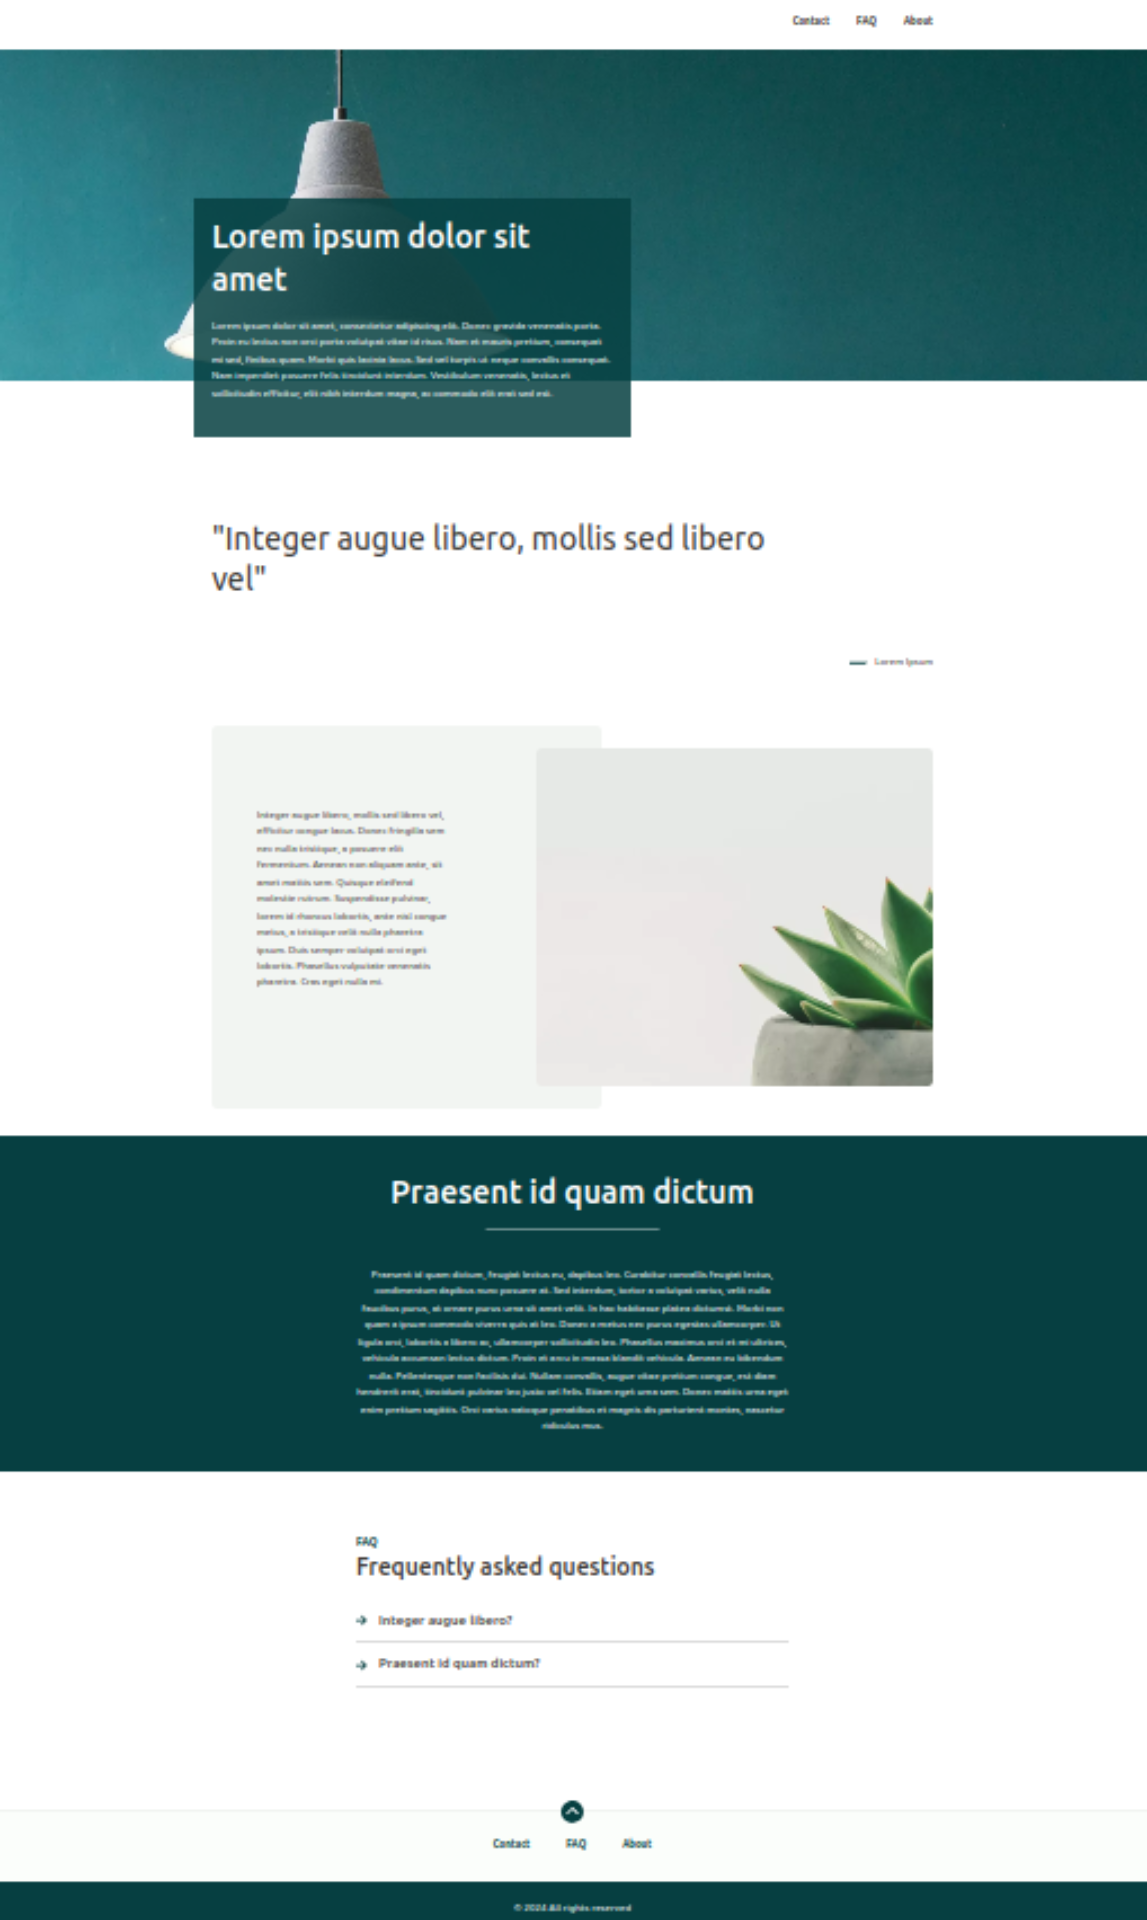
<link href="https://fonts.googleapis.com/css2?family={{settings.fontFamily}}:wght@300;400;500;600;700&&display=swap" rel="preload" as="style" onload="this.onload=null;this.rel='stylesheet'">Following setup allows us to give new fresh look very quickly. 🚀
If we change just images, customize colors and font (maybe also order of Matrix Blocks), we can get following result in seconds:
Be prepared!
That’s is my way to be more flexible, productive and more prepared for unexpected situations!
Thanks for reading! I hope you enjoyed this simple tutorial and let me know if you gonna use it!
*Let me know if you want to read how to create your own field in Craft CMS!